Arrival Guide Template for Property Listings
Create an Arrival Guide that travels from one meaningful starting place to the confirmed property and clarifies the general approach for remote buyers.
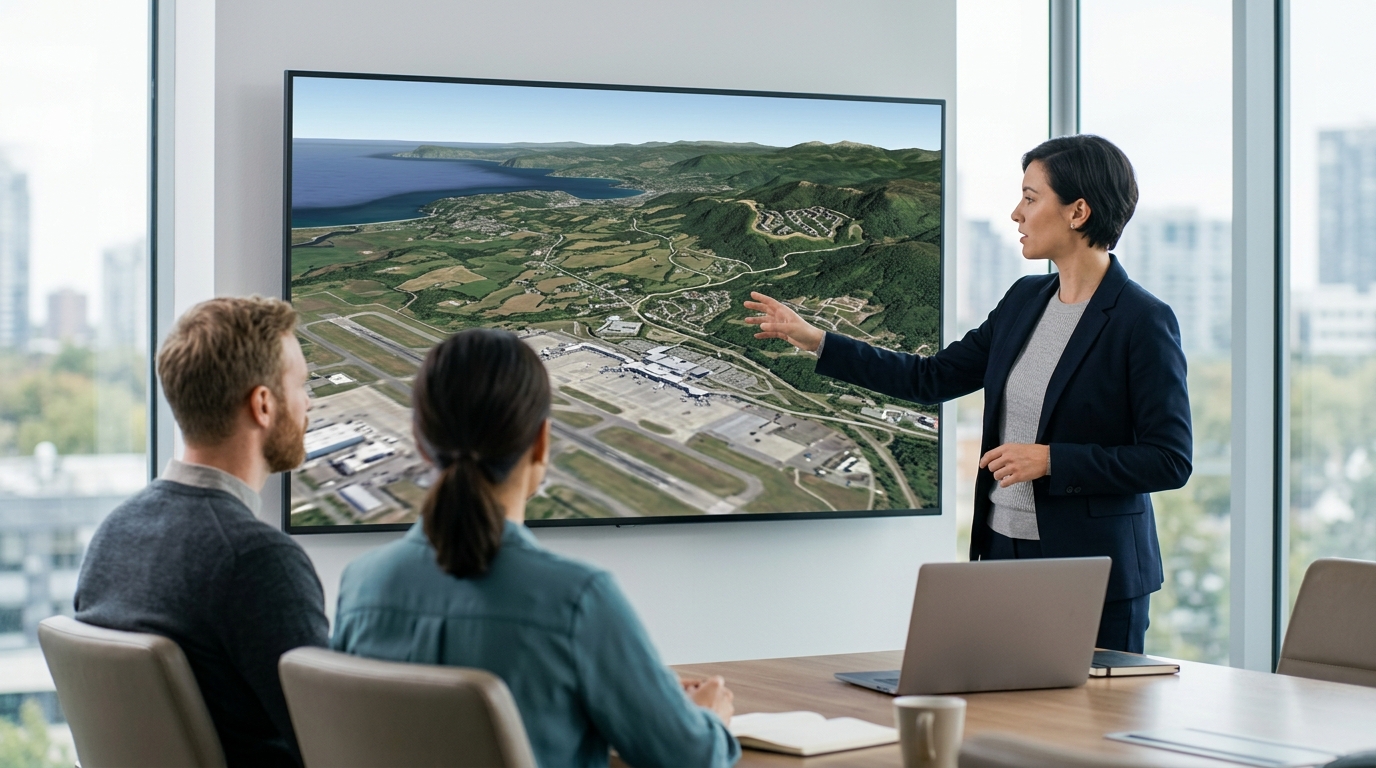
Arrival Guide starts from one selected place and travels toward the confirmed property, helping a remote buyer understand the general approach and terrain. Choose a starting point that answers a genuine arrival question, not a decorative landmark. The sequence is orientation, not turn-by-turn navigation, and it cannot replace current road information, access instructions, or independent route verification.
Audience and result
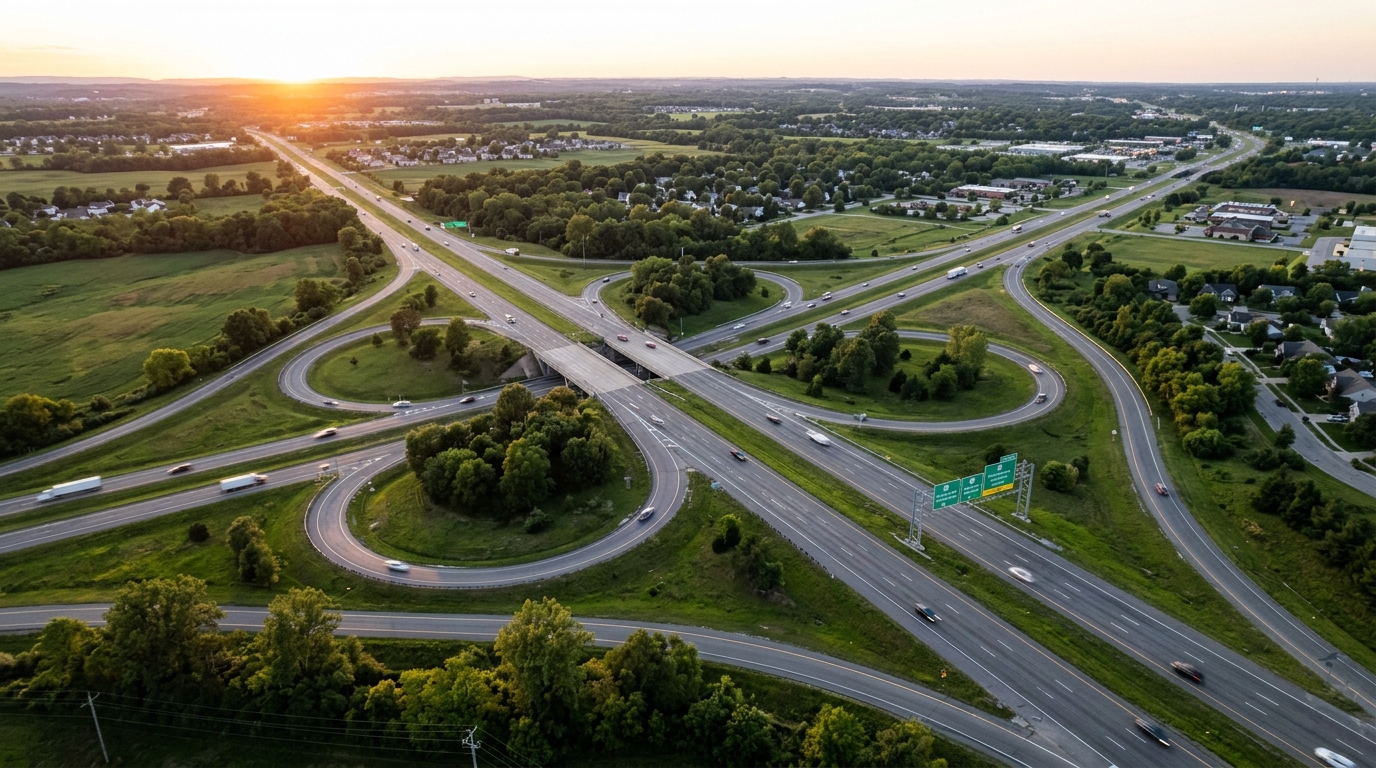
This template is designed for real-estate professionals, including real-estate agents, property marketers, developers, hospitality teams, and destination teams, who need to communicate property location and surrounding context clearly. When working with remote or unfamiliar buyers, explaining the general approach to a property can be challenging. Traditional static images or standard maps often fail to convey how a property relates to its broader regional environment, leaving buyers with questions about the general approach and terrain.
By utilizing this template, professionals can create an embeddable interactive photorealistic 3D location story using licensed geospatial imagery. The resulting visualization starts from one selected place and travels toward the confirmed property, helping a remote buyer understand the general approach and terrain. This tool supports programmed camera movements, protected share links, domain-bound embeds, and live exploration after playback, allowing users to interact with the 3D environment directly from their web browsers.
It is important to distinguish this 3D visualization from physical drone footage. While physical drone footage requires on-site production and captures real-time physical conditions, this digital visualization is constructed from licensed geospatial imagery. The primary result is a clear, macro-level spatial orientation that helps remote buyers conceptualize the general approach before they conduct independent, on-the-ground verification.
Required inputs
To construct an Arrival Guide, certain required inputs must be gathered and verified. The primary input is the confirmed property address, which serves as the final destination of the programmed camera sequence. Before beginning, users should perform an address coverage check within the Georivo platform to ensure that the licensed geospatial imagery is available for the specified location.
The second critical input is one selected starting place. This starting place must be a single, defined location that represents the beginning of the general approach. It should be chosen based on its ability to answer a genuine arrival question for an unfamiliar buyer, rather than serving as a decorative landmark. Additionally, nearby places can be identified to provide broader context, though they are secondary to the main path.
These inputs are used by the platform to generate the interactive 3D location story. Because the system relies on existing licensed geospatial imagery, there is no need for physical site photography or custom drone flights. Having these inputs verified and ready ensures a smooth setup process when programming the camera movements.
Choosing a starting point
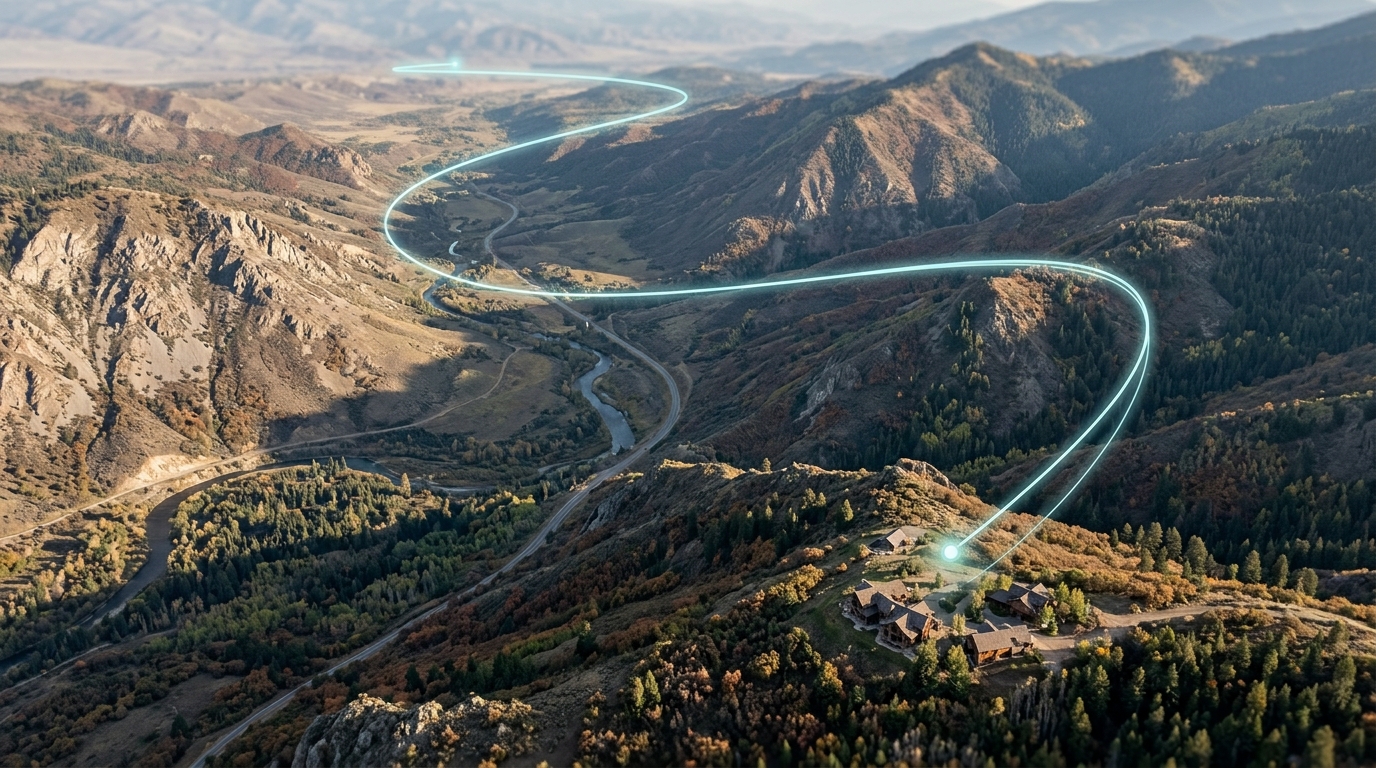
Selecting the starting point is a key step in creating an effective Arrival Guide. The direct answer emphasizes that you must choose a starting point that answers a genuine arrival question, not a decorative landmark. The starting point serves as the anchor for the entire visualization, establishing the initial frame of reference for the remote buyer.
When real-estate professionals choose a starting point, they should focus on utility rather than aesthetics. A decorative landmark that is geographically irrelevant to the actual approach can confuse buyers and undermine the guide's educational value. Instead, the starting point should represent a logical entry point or transition zone where a visitor would naturally begin their approach to the property.
By prioritizing functional starting points, the guide helps remote buyers understand the general approach and terrain from a realistic perspective. This practical approach to spatial storytelling ensures that the visualization remains highly useful for real-estate marketing, helping buyers build a clear mental map of the regional context.
Sequence
The visual sequence of the Arrival Guide must follow a structured, logical progression to ensure clarity. The sequence is designed strictly for orientation, not turn-by-turn navigation. It begins at the one selected starting place, establishing an immediate geographic baseline for the viewer. This initial view allows the buyer to orient themselves before any camera movement occurs.
From the starting place, the sequence transitions into showing the general approach. The programmed camera movements guide the viewer smoothly through the 3D environment, revealing the general terrain, topography, and regional relationships between the starting point and the destination. This phase is critical for helping remote buyers understand the general approach and the surrounding landscape.
The sequence concludes when the camera arrives at the confirmed property. This final view highlights the property's position within the broader environment, completing the visual journey. By structuring the guide in this three-step sequence—starting at one selected place, showing the general approach, and arriving at the confirmed property—the visualization provides a coherent macro-level overview.
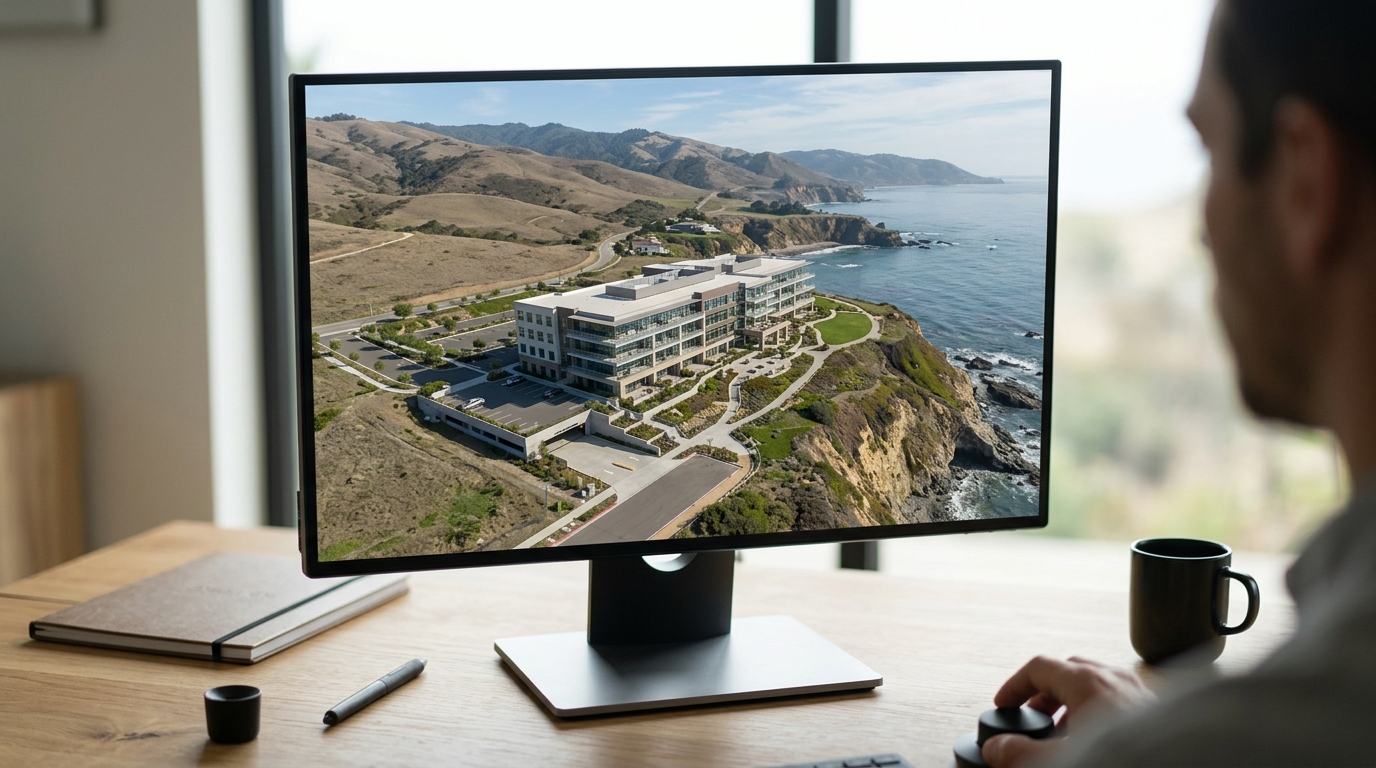
Worked example
To demonstrate how this sequence operates in practice, let us review an illustrative, abstract scenario. In this illustrative example, a real-estate agent is preparing an Arrival Guide for an unfamiliar buyer. The agent begins by identifying the confirmed property address and selecting one functional starting place that represents the primary approach route to the area.
The illustrative sequence starts at this single selected place, anchoring the viewer's perspective. The programmed camera then begins its path, showing the general approach across the terrain. This movement allows the remote buyer to observe the general topography and spatial relationship between the starting point and the destination, without providing specific driving directions or real-time road conditions.
The illustrative sequence concludes as the camera arrives at the confirmed property, highlighting its location in the 3D environment. Once this automated playback finishes, the buyer can transition to live exploration, manually panning and zooming around the property to inspect adjacent spaces. This illustrative example shows how the three-step sequence provides general spatial orientation.
Customization
The Georivo platform offers several customization features to tailor the Arrival Guide to the needs of different properties. Users can configure programmed camera movements to control the path, angle, height, and speed of the visualization as it travels from the starting point to the property. This allows real-estate professionals to highlight specific regional terrain features during the approach.
Another key customization feature is the transition to live exploration after playback. Once the programmed camera sequence completes, the interactive 3D location story allows the remote buyer to manually explore the environment. This interactive capability enables buyers to pan, tilt, and zoom around the confirmed property, giving them control over their spatial discovery.
For distribution, the platform supports protected share links and domain-bound embeds. These features ensure that the interactive 3D location story can be shared securely with clients or integrated seamlessly into property listings. This level of customization and security helps property marketers present their listings with clear, professional spatial context.
When not to use
It is vital to understand when and how the Arrival Guide should not be used. The sequence is designed strictly for orientation, not turn-by-turn navigation, and it cannot replace current road information, access instructions, or independent route verification. The visualization does not provide real-time driving directions, traffic updates, or physical road conditions.
Access conditions and routes require current independent verification by the buyer, agent, or visitor. Because the guide relies on licensed geospatial imagery, it cannot reflect temporary road closures, weather-related obstacles, physical barriers, or changes in local infrastructure. Users must never rely on the visualization as a definitive guide for physical travel or navigation.
Furthermore, this 3D visualization is distinct from physical drone footage and does not establish, prove, or verify legal property boundaries, land ownership, or physical access rights. Real-estate professionals and buyers must verify all legal boundaries and access instructions through official local records and independent on-the-ground assessments.
Limitations and suitability
Use this material for presentation and decision support, not as a substitute for independently verified source information. Confirm routes, distances, access, availability, imagery, legal boundaries, platform requirements, and current conditions with the relevant authoritative source before publication or use.
Approved boundaries for this page: Not turn-by-turn navigation; Access conditions and routes require current independent verification.
| Phase | Action | Visual Focus | Buyer Benefit |
|---|---|---|---|
| 1. Start | Anchor at starting place | One selected starting point | Establishes a recognizable geographical baseline |
| 2. Transition | Show general approach | Terrain and topography | Reveals the general approach and regional relationship |
| 3. Arrival | Arrive at confirmed property | Property location area | Clarifies the final positioning within the landscape |
| 4. Exploration | Enable live interaction | User-controlled 3D view | Allows independent manual inspection after playback |
Steps to Build Your Arrival Guide
- Verify the confirmed property address within the Georivo platform.
- Select one functional starting place that answers a genuine arrival question.
- Configure the programmed camera path starting from the selected entry point.
- Set up the transition camera movement to show the general approach and terrain.
- Program the final camera destination to arrive at the confirmed property.
- Generate the protected share link or domain-bound embed code for distribution.
- Instruct buyers to use independent route verification for physical travel.
An arrival guide is not about turn-by-turn directions; it is about giving remote buyers the spatial confidence they need to understand how a property fits into its wider regional landscape.
FAQ
Can this guide be used for turn-by-turn driving directions?
No. The arrival guide is designed for spatial orientation and terrain visualization only. It does not provide real-time navigation or turn-by-turn driving directions, and buyers must use independent route verification for travel.
What makes a good starting point for the guide?
A good starting point is a functional regional gateway, such as a major highway intersection or transit hub, that answers a genuine arrival question for an unfamiliar buyer.
Is the imagery used in the guide captured by physical drones?
No. The guide utilizes licensed geospatial imagery to construct a photorealistic 3D environment, which is distinct from physical drone footage and does not require on-site production.
Can buyers interact with the guide after the playback ends?
Yes. Once the programmed camera sequence completes, the viewer can freely pan, tilt, and zoom to explore the surrounding area in live 3D mode.
How do I share the completed arrival guide with remote clients?
You can share the guide using protected share links or embed it directly onto your website using domain-bound embed codes provided by the platform.